As you’ve probably noticed, we enjoy taking pictures when we travel.
(You: “Nooo…!!!”) Haha…
We’re not professional photographers by any means. We take all of our pictures on our iPhones. We no longer bring separate cameras or video cameras on our trips. But we have a few tips and tricks we use to improve some of our photos. We’ll share them with you in this post. We hope you find them useful.
In most cases, when you see both of us in a photo, it wasn’t taken that way. If there are friendly, trustworthy-looking people nearby, we might ask them to take a picture. Sometimes they volunteer. But most of the time it’s just us. One of us takes a picture of the other, then holds the camera as steady as possible. The subject will then take the camera from the photographer while moving it as little as possible, while the original photographer takes his place next to where the original subject stood. Photographer #2 takes the second photo.
We use a free tool that used to come with Windows called Photo Gallery. Microsoft no longer includes it with Windows for some unfathomable reason, but you can download it here.
Photo Gallery contains a feature called Photo Fuse. After Dave has downloaded the photos to his computer, he selects two photos, clicks on Create Fuse, and the software attempts to align them. Then he can select which parts of each photo he wants in the combined (fused) photo.
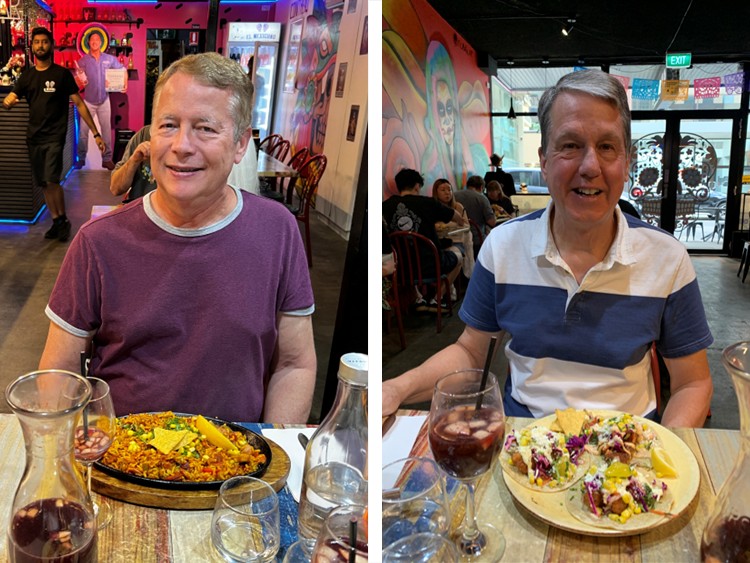
Here are a couple of examples from our recent visits to Singapore and Perth.
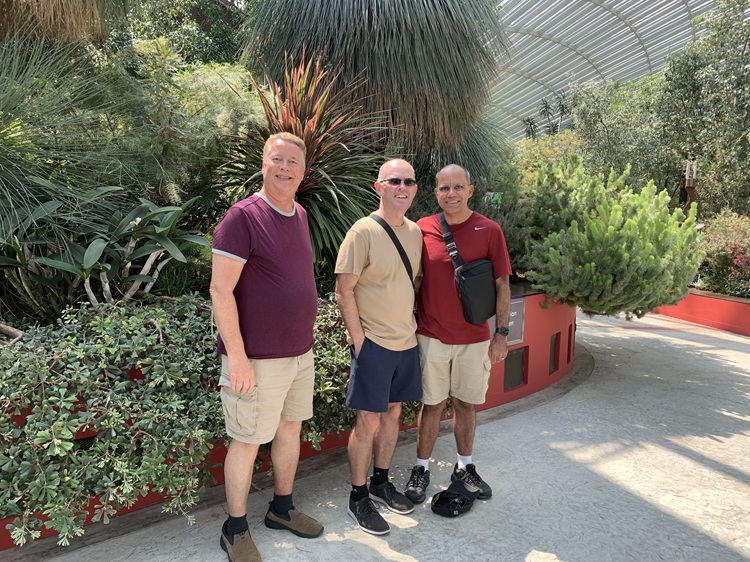
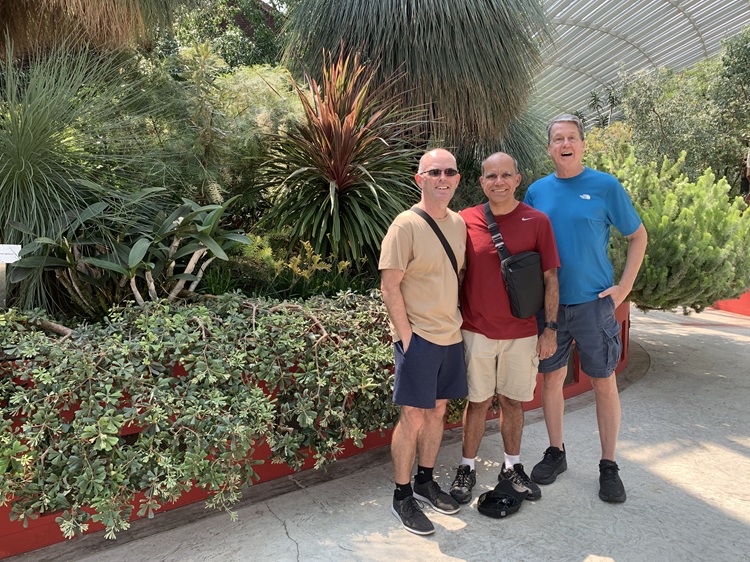
In Singapore, we visited the Flower Dome at Gardens by the Bay with our friends Aidan and Carl. Here are the two original photos:
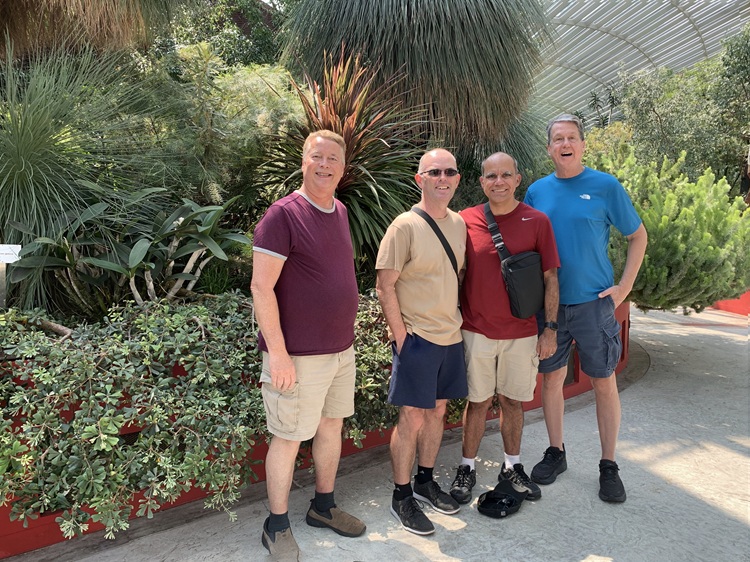
And here’s the result:
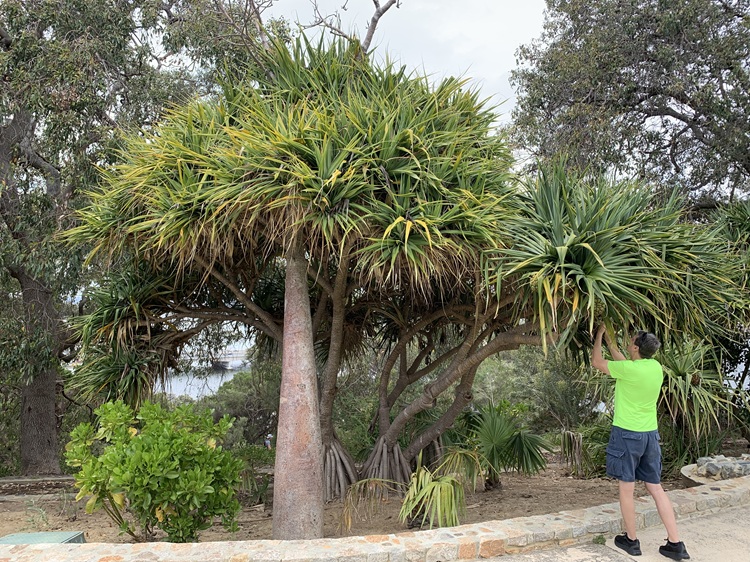
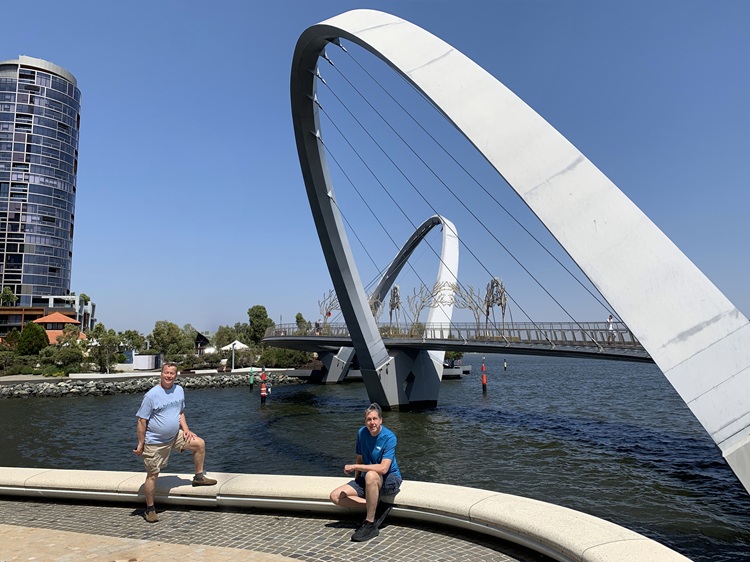
Here’s another example from the Elizabeth Quay bridge in Perth. Here are the original photos:
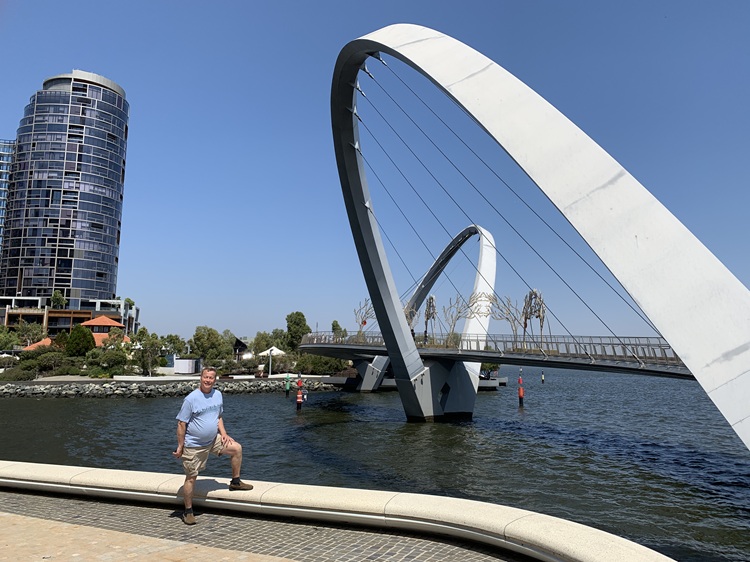
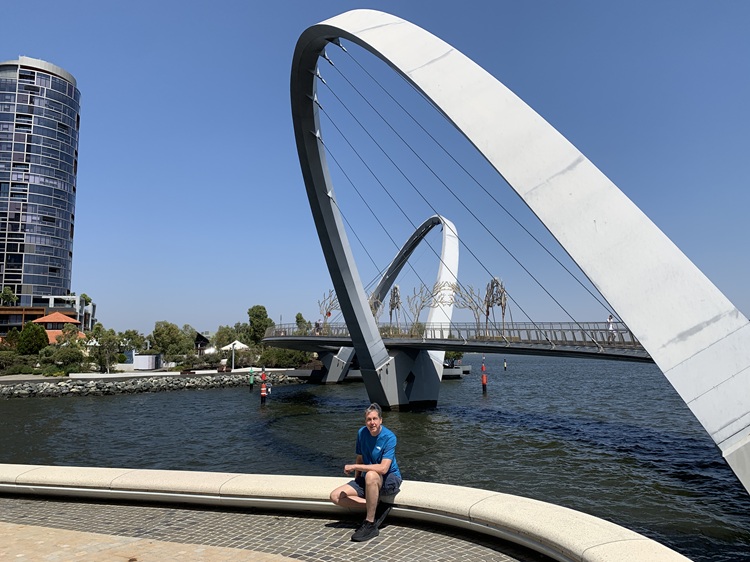
Sometimes the result is not perfect. If you look closely at the bench next to Dave’s foot, you’ll see there’s a slight misalignment at the crack. The small gray tiles don’t quite line up either. We figure most people won’t notice, and it’s close enough for us!
Another way to add a person (or people) to a photo is to remove the background from a photo, leaving only the person. There’s a great website for that, remove.bg. Then you can superimpose that person onto another photo. You can download a low-resolution version of the result for free, or a high-resolution version for a small fee.
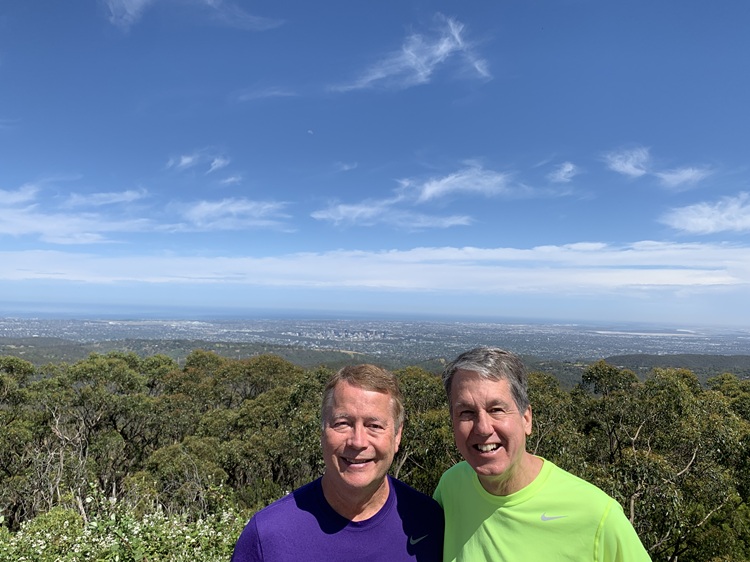
Here’s an example from our visit to Adelaide. When we were on Mt. Lofty overlooking Adelaide, Dave took this picture of the city in the distance:
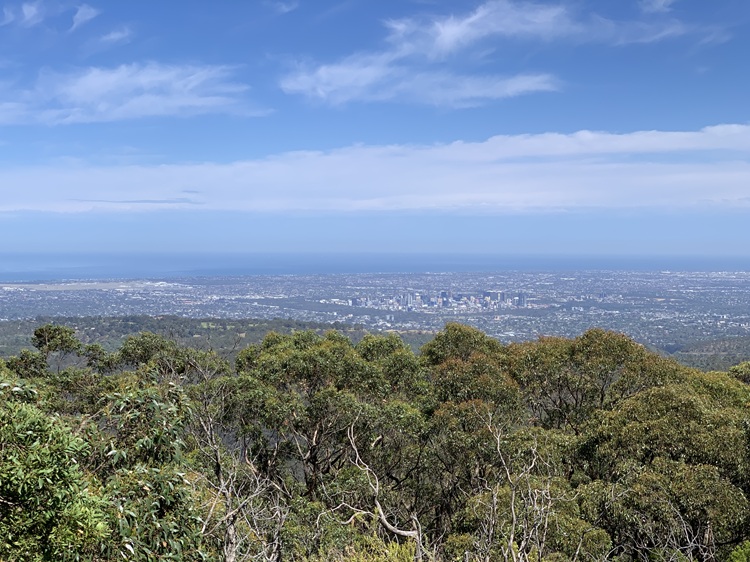
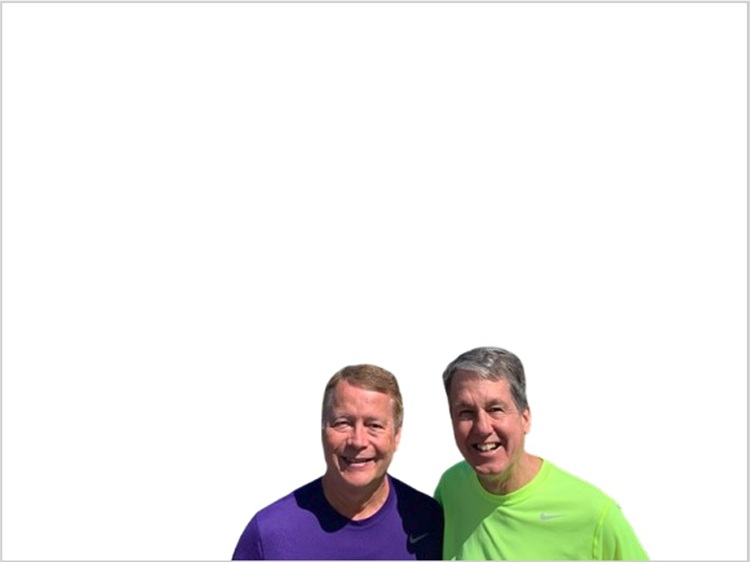
Then one of the other people on our tour offered to take a picture with us in it. We liked the picture of us, but we felt that the city in the background was not as sharp because the camera focused on us.
So, Dave uploaded this picture to remove.bg and got this result:
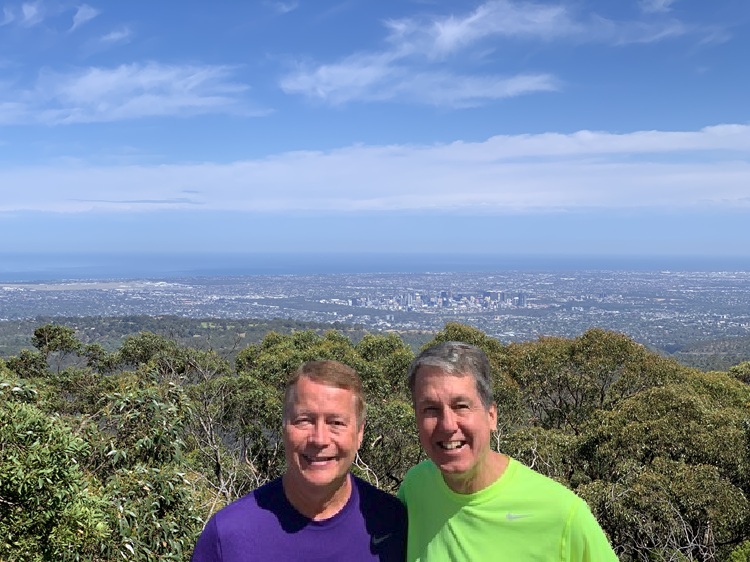
Dave then superimposed this picture on the first one. Here’s the result:
We use PowerPoint whenever we want to make a montage of more than one photo, as we do for most of our food pictures. We create a file with slide dimensions 7.813″ x 5.854″, which will result in a 750 x 562 pixel picture when saved. (That’s the size we use for all the pictures on this website.) If you prefer different dimensions, divide the number of pixels you want by 96 to get the slide dimensions in inches.
Most photo editing or image creation tools, such as Photoshop, Paint, Canva, etc., can do this just as easily. Occasionally, we use PowerPoint for color correction, too.
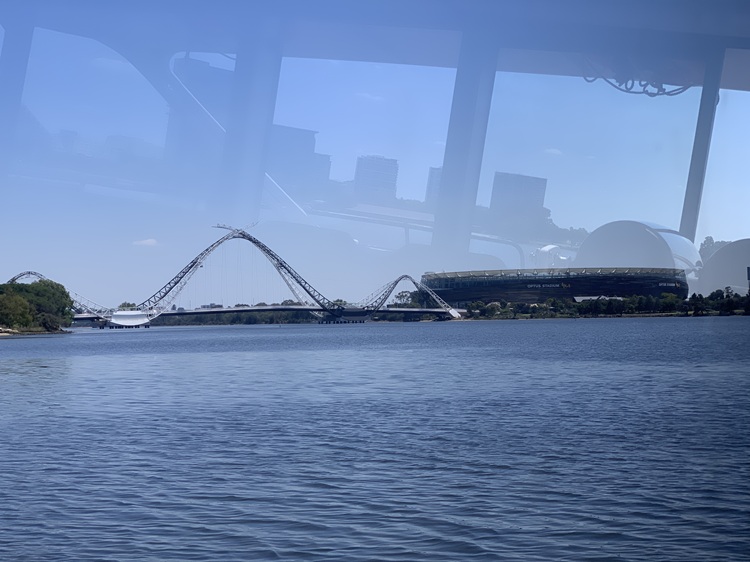
Taking photos through glass, whether it’s a display case or a window on a bus or boat, often results in glare or reflection. Reflections nearly ruined these photos, but Jeff used ChatGPT to remove them.
Here’s an example from the boat on our Swan River Valley wine tour in Perth:
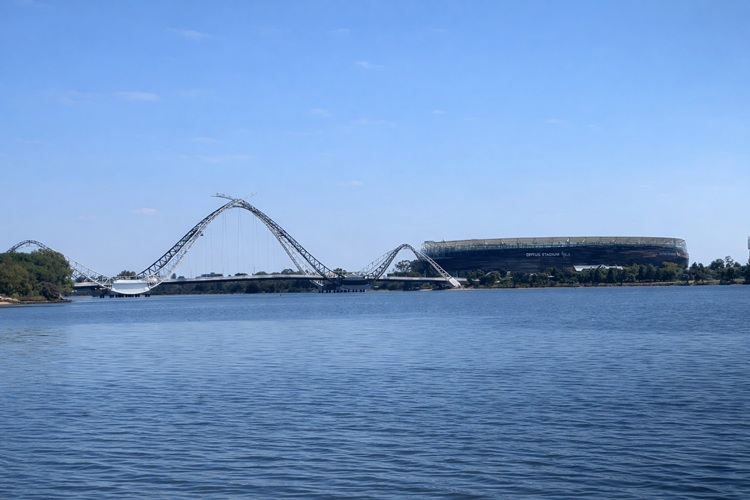
Here’s what ChatGPT was able to accomplish:
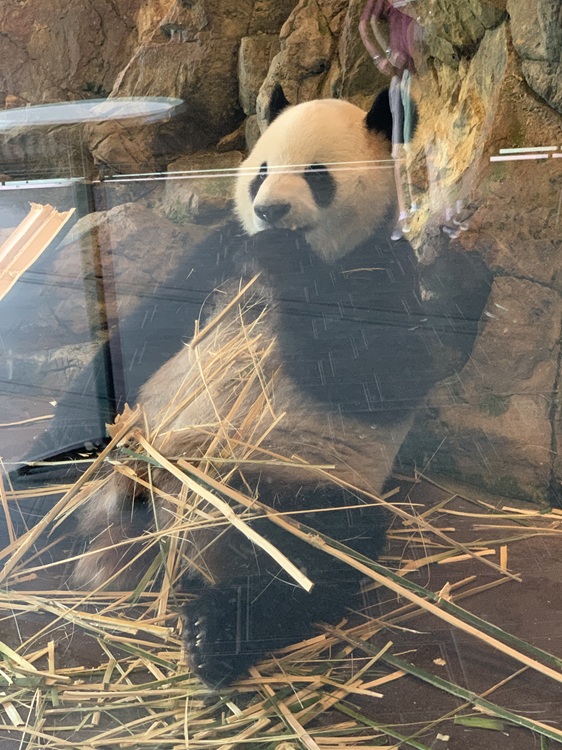
The glass enclosure for the panda at the Adelaide Zoo was very reflective, almost ruining this picture. That’s Dave’s reflection just to the right of the panda’s head.
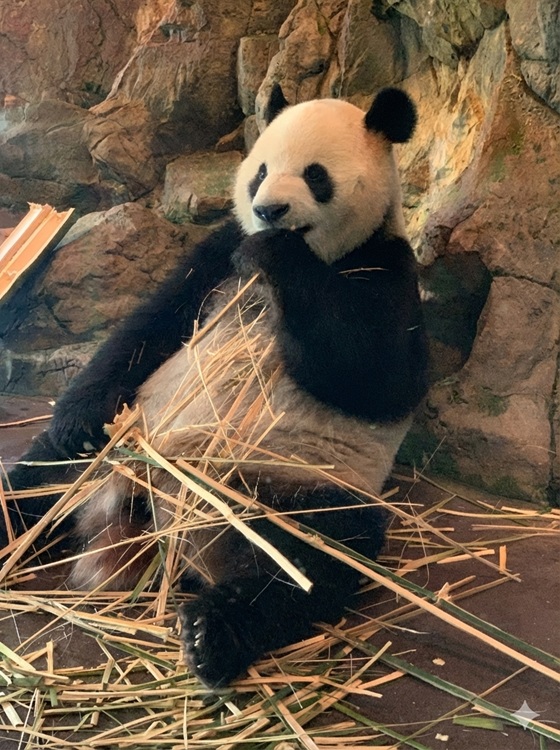
ChatGPT to the rescue!
We hope you’ve enjoyed this peek behind the scenes, and we hope some of these tips and techniques will be useful to you.